Using Reuseable Borders in PhotoShop
About
In this tutorial I will continue where the previous tutorial stopped: using the borders you've just created. The reason I split them up is to make it easier for people who do want to use the borders, but do not want to create them themselves.
Opening the images
First start at the beginning: opening the two files. First you open the file you wish to add a border to, next to it, you open the image that will form your border. Now you have two options: or you create a new file with the correct size (same as the picture you want to add the border to), or you use the original file with your picture, and change that. In this tutorial, I will asume you will use the second technique, adding the border to your original image (or a copy thereof of course).
Using layers
Now comes the hardest part if you are not familiar with it: layers. They may seem scary, they may sound hard, but in fact, they are what they are called, and they can make life beatifull, easy, and safe!- beautifull, because they allow you to create the most wonderfull effects on your pictures.
- easy, because if not for layers, you would need to manually recreate each border on each picture again.
- safe, because you are editing a layer on your image, not your image itself!

In the layer palette, click on 'new layer'. Then go to the image containing your border, and select the whole picture using the selection tool.
Go back to your picture, and make sure in the layer palette, that your new layer is selected. Then paste the border selection into the new layer.
Go back to the layer palette, and set the blending mode to 'screen' (this is by default set to 'normal').
Now you will see the border becomming white on your picture. Your bordered picture is finished!

Finetuning
- By playing with the sizer of your border and your picture, you can create the ability to move your picture around behind the border, and this way creating the best layout for it. You can change the size of your pictures and borders by using the menu: 'image'->'image size'
- The borders you see here in the tutorial are all in portrait mode. You can easily change this via the menu: 'image'->'rotate canvas'->'90 ccw'
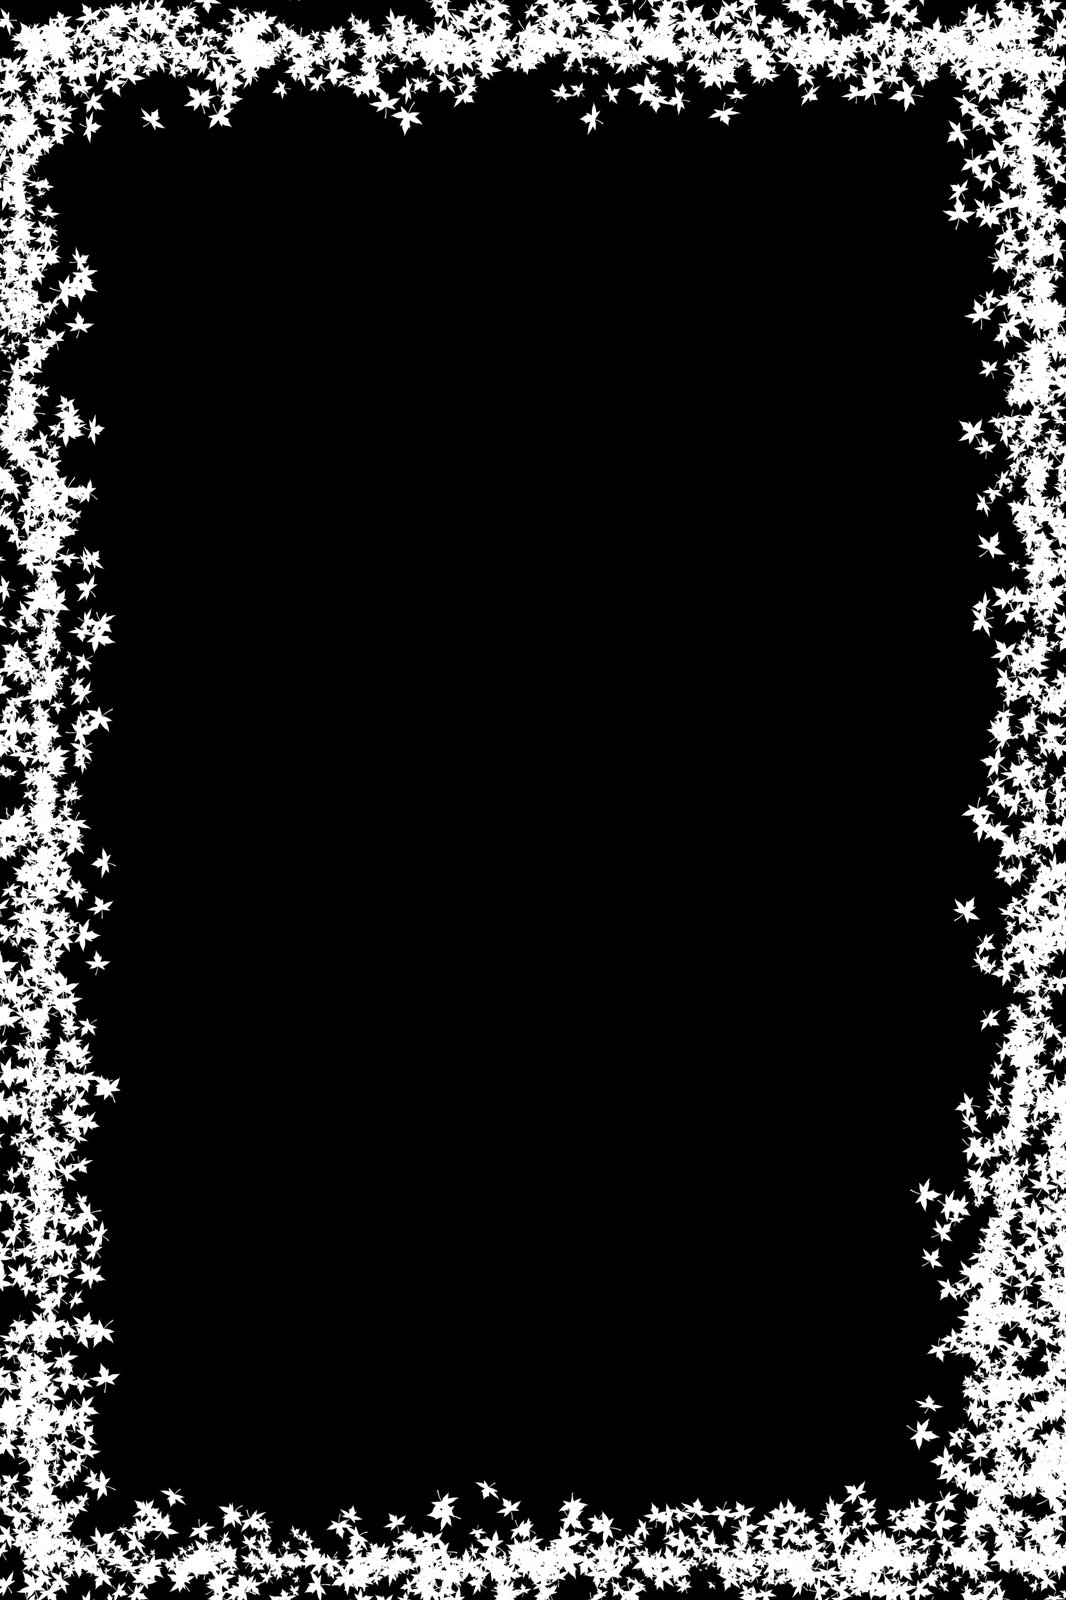
Some borders
Here you can download some borders to start trying this technique.